HomeFeaturesInstallActivate LicenseRecover License

GOLDENRADIO user manual for ATS25 receivers

This manual summarizes the public firmware documentation: supported ATS25 models, first boot, web installation, main screen, digital modes, EiBi database, activation, and common troubleshooting.

Install firmwareExplore featuresActivate license
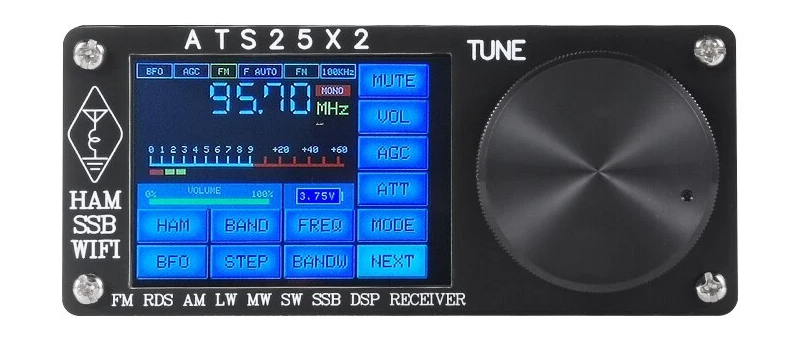
ATS25X2 receiver compatibility target

Compatibility

GOLDENRADIO targets ATS25-class receivers based on ESP32 and SI473x hardware. Verified targets currently include ATS25X2 and ATS25 MAX Decoder II; other ATS25 variants depend on the real RF front-end, LNA, HIZ, GPIO switching, display, and audio path.

  • â–¸Verified: ATS25X2 and ATS25 MAX Decoder II.
  • â–¸Probable: ATS25 MAX Decoder and close hardware variants.
  • â–¸To verify case by case: ATS25, ATS25+, ATS25X1, ATS25AMP, Pro+ and clone variants.
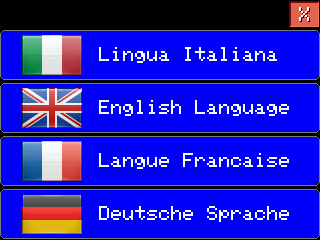
Language selection screen in GOLDENRADIO

First boot, language, and trial mode

After installation the radio opens with GOLDENRADIO setup. Choose the firmware language on first boot, then use the full trial mode before permanent activation. Activation removes the reminder screen and creates the permanent key for the displayed Program ID.

  • â–¸Language can be changed later from settings.
  • â–¸Trial mode keeps the firmware usable before purchase.
  • â–¸Permanent activation is done with the Program ID shown on the radio.
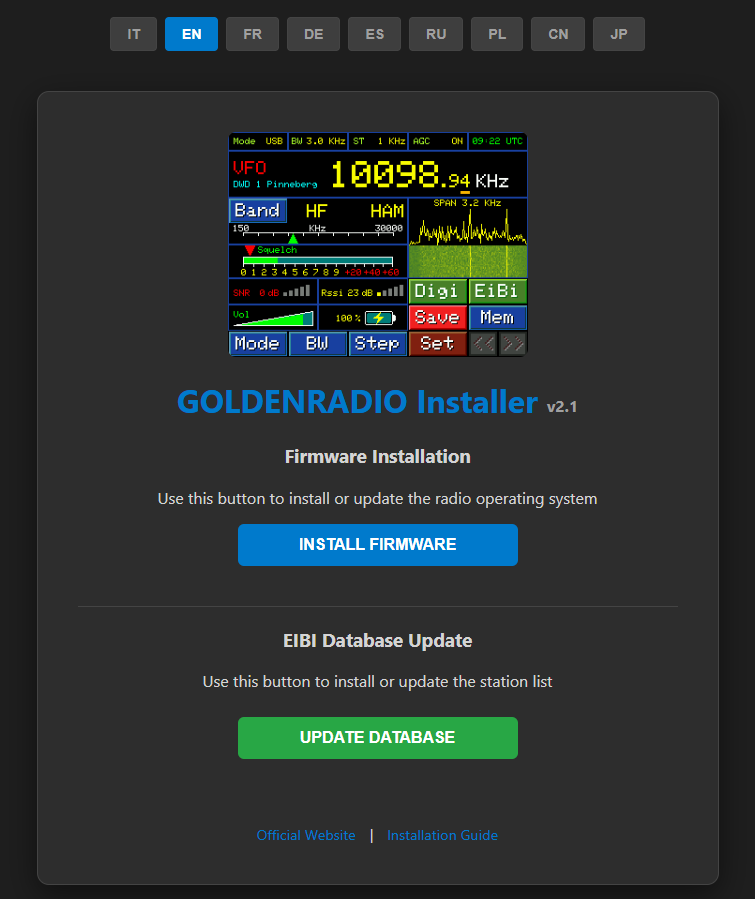
GOLDENRADIO web installer page

Web installation and updates

The recommended update path is the browser web installer. Use Chrome or Edge, a data-capable USB cable, and the correct CP210x or CH340/CH341 driver if your computer does not show a serial port.

  • â–¸Open the download page and connect the radio over USB.
  • â–¸Select the serial port in the browser dialog.
  • â–¸Install the firmware and wait for completion before disconnecting.
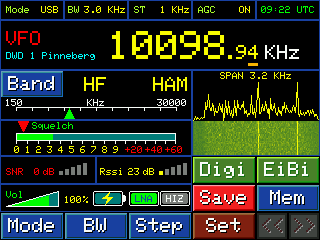
GOLDENRADIO main screen

Main screen and tuning workflow

The main screen is the control center: mode, bandwidth, tuning step, UTC time, frequency, band position, signal panel, spectrum/waterfall, volume, battery, and touch controls are visible in one workflow.

  • â–¸Tap frequency areas for direct entry or memory access.
  • â–¸Use the band panel for fast navigation across broadcast and ham bands.
  • â–¸Use spectrum and waterfall views to find weak signals visually.
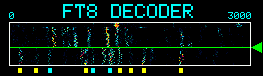
FT8 spectrum view in GOLDENRADIO

Digital modes, EiBi, and decoder tools

GOLDENRADIO adds listening workflows for FT8, FT2, CW and RTTY, with spectrum support and a practical EiBi database flow for shortwave station identification.

  • â–¸FT8/FT2 support includes timing workflows for weak-signal listening.
  • â–¸CW and RTTY tools support text-mode monitoring.
  • â–¸EiBi helps answer: who is transmitting on this frequency now?

Troubleshooting checklist

Most installation problems come from USB drivers, charge-only cables, busy serial ports, touchscreen calibration, or model-specific hardware differences.

  • â–¸If the COM port is missing, reinstall the USB serial driver.
  • â–¸If connection fails, close Arduino IDE, PlatformIO, serial monitors, and similar tools.
  • â–¸If touch is inaccurate, run touchscreen calibration from the startup screen.